Web walkthrough
This is a short end-to-end tutorial designed to get a new instance set up via a web control panel.
Warning
As we’re using the Web UI, the warnings there are also applicable here.
Environment setup
Create and activate new Python virtual environment:
$ python3 -m venv venv
$ . venv/bin/activate
Follow the instructions on Installation to install IMMP and its dependencies.
Skeleton config
Save the following as config.yaml:
hooks:
  web:
    path: immp.hook.web.WebHook
    config:
      host: localhost
      port: 4667
  web-ui:
    path: immp.hook.webui.WebUIHook
    config:
      route: ""
First run
Open a terminal and run:
(venv)$ immp -w config.yaml
Now open localhost:4667 in your browser.
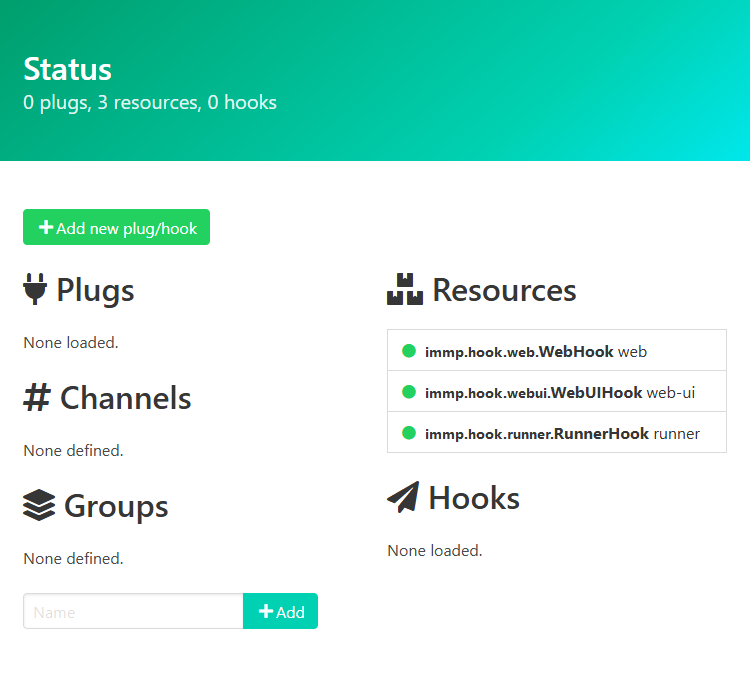
Adding a plug
We’re going to add a Dummy plug to the instance.
Click Add new plug/hook. Set Path to the full module and class name listed on the Dummy docs page, and Name to a short identifier. No config is required for this plug.
Click Add to create the new plug, which will be left in inactive state.
Click Start to connect the plug to its network. For a dummy plug, no network requests are involved and it should start right away.
Check for messages
The default logger will print a line for each message received by any plug. The dummy plug should yield a new message every 10 seconds:
INFO:immp.hook.runner:Creating plugs and hooks
INFO:immp.hook.runner:Starting host
INFO:immp.core.stream:Ready for first message
INFO:immp.core.stream:Received: <SentMessage: '1546300800' @ 2019-01-01 00:00:00.000000 <Channel: dummy @ dummy>: <User: 'dummy' 'dummy'> 'Test'>
INFO:immp.core.stream:Received: <SentMessage: '1546300810' @ 2019-01-01 00:00:10.000000 <Channel: dummy @ dummy>: <User: 'dummy' 'dummy'> 'Test'>
Save and quit
Press <Ctrl-C> in the terminal to halt the instance:
^CINFO:immp.hook.runner:Closing on signal
INFO:immp.hook.runner:Writing config file
The config file will have been updated with a new plugs section containing the dummy plug, and
a runner will be present in the hooks section.
Run as a service
Instead of running the instance from a terminal each time, you can schedule it with your system’s service manager. A sample config file for systemd on Linux:
[Unit]
Description=IMMP
After=network.target

[Service]
Type=simple
User=immp
Group=immp
WorkingDirectory=/var/lib/immp
ExecStart=/opt/IMMP/venv/bin/python -m immp -w config.yaml
KillSignal=SIGINT
Restart=always
RestartSec=5

[Install]
WantedBy=multi-user.target
This assumes a system user immp with its home directory at /var/lib/immp, and a copy of the repository checked out at /opt/IMMP with the virtual environment inside.
Save this file to /etc/systemd/system/immp.service, then enable and start the service as root:
# systemctl enable immp
# systemctl start immp
Multiple instances
Like before, but save as /etc/systemd/system/immp@.service:
[Unit]
Description=IMMP: %i
After=network.target

[Service]
Type=simple
User=immp
Group=immp
WorkingDirectory=/var/lib/immp/%i
ExecStart=/opt/IMMP/venv/bin/python -m immp -w config.yaml
KillSignal=SIGINT
Restart=always
RestartSec=5

[Install]
WantedBy=multi-user.target
Then you can enable and start immp@foo, which uses a subdirectory foo of the system user’s
home directory, for any name foo. You can also use %i in the user/group names if you want
to separate privileges to avoid cross-bot snooping.